Q's Kitchen: Cake
Showing posts with label Cake. Show all posts

Nutty Carrot Cake with Buttercream Frosting

It's the last post of the year and wow, what a year it has been; full of trials, tribulations and triumphs. This last stretch has been somewhat challenging, but I've been determined to have a positive outlook. I recently unearthed my diary that I started at the beginning of the year and although it is very much incomplete and was abandoned back it March - the page on my new year resolutions shed some much needed light on some of my achievements of the year. 
As for my hopes for 2019, I pray for happiness in abundance, peace, prosperity, health, opportunities, adventure, the good type of change and to become the best version of myself possible Ø¥Ù† شاء الله‎
Now as for last recipe of the year, I wanted it to be something familiar and comforting and nothing expresses that better for me that this carrot cake. This particular recipe is from an old book that my dad got for my mum years and years ago (I think its older than me!). Some of my earliest baking memories are linked to this book, I remember I would love to flick through the pages and devour all the beautiful pictures - the first recipe I ever tried (oatmeal cookies) was also from this cookery book, so it will always hold a special place on my shelf.
I couldn't even tell you the number of times we have made this carrot cake over the years, its featured at many a teatime table and even as a birthday cake - its really that good. 

So without further ado, to make this Nutty Carrot Cake with Buttercream Frosting you will need the following ingredients:
- Carrots
 - Caster sugar
- Brown sugar (soft or granulated)
- Plain flour
- Baking powder
- Bicarbonate of soda
- Eggs
- Sunflower oil
-  Cinnamon / mixed spice
- Walnuts, almonds, cashews
- Raisins
Begin by grating 290g of peeled carrots, the original recipe suggested a larger quantity so feel free to increase if you so wish. I try to reduce the amount of liquid in the cake so that the end cake is not quite so 'wet'
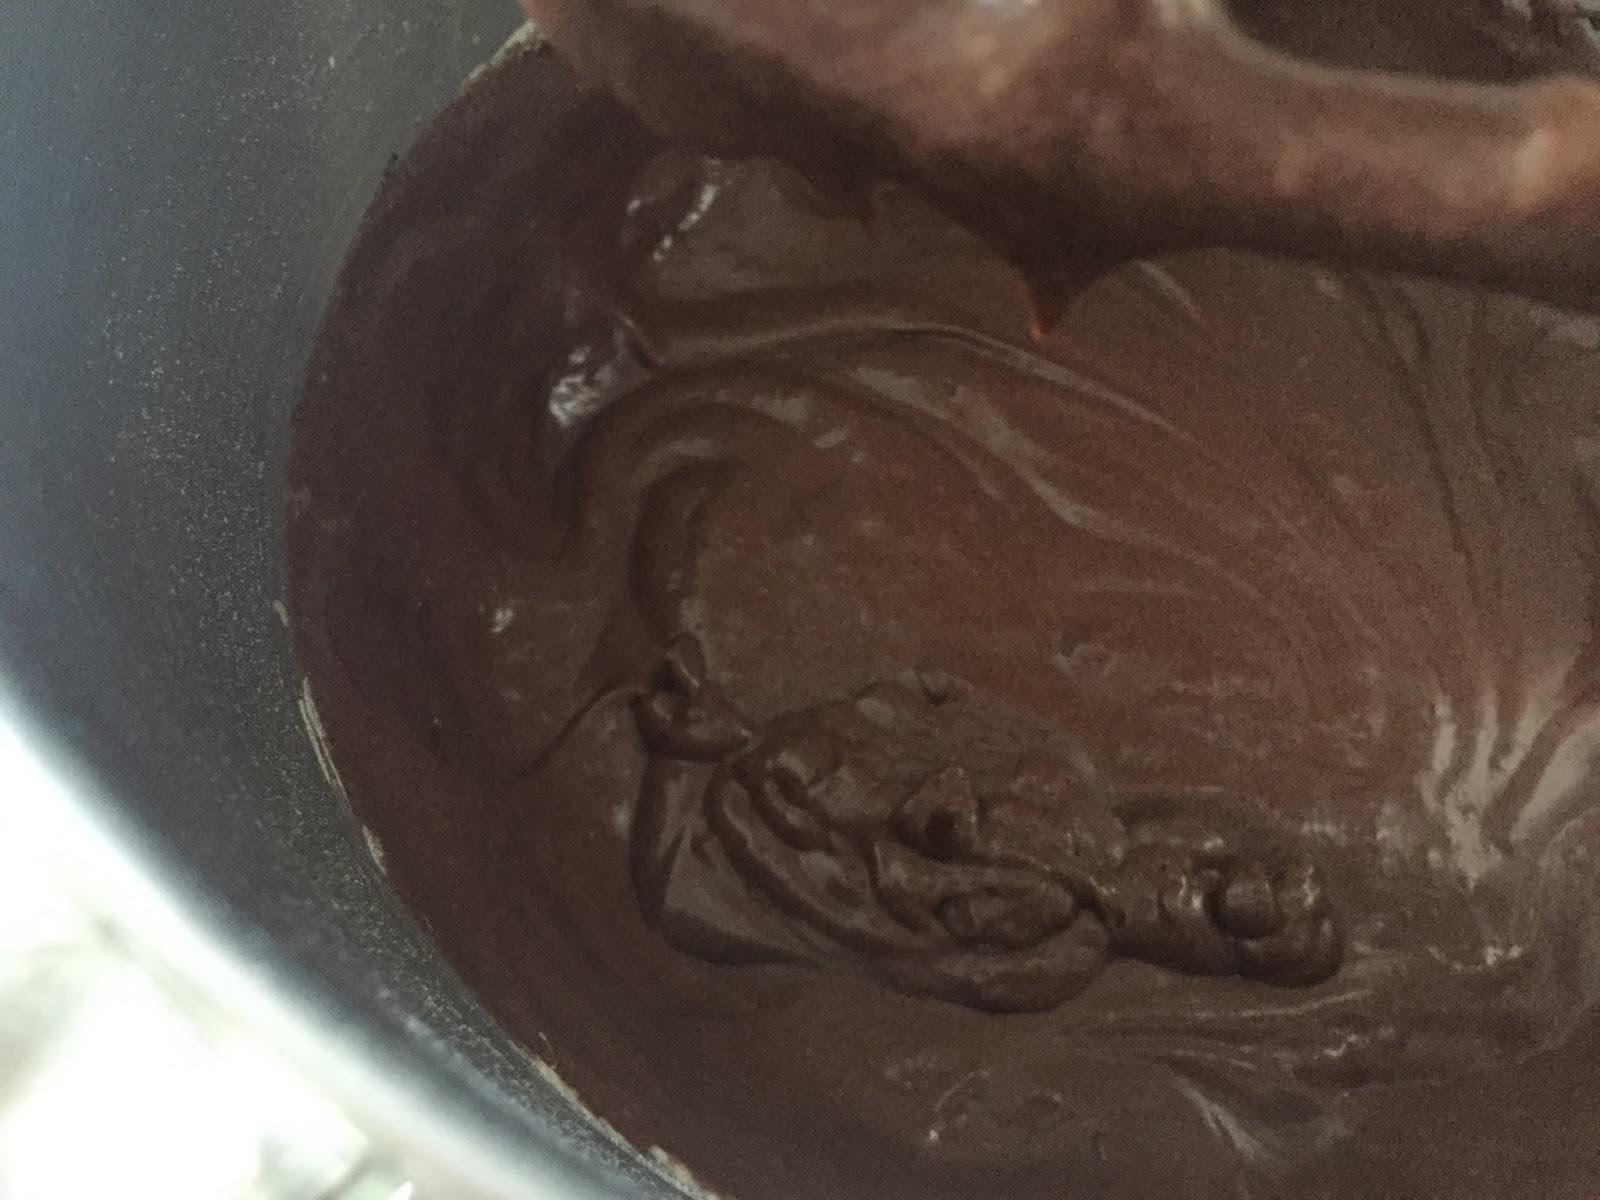
Then using at electric mixer beat together 4 eggs, 2 tsp vanilla essence, 55g caster sugar, 115g of brown sugar and 195 ml of sunflower oil. Sift in the dry ingredients - 220g of plain flour, 2 1/2 tsp baking powder, 1/2 tsp bicarbonate of soda, 2 tsp cinnamon and 1 tsp salt, fold in well.
Mix in the grated carrots, 115g of nuts (walnuts, almonds, cashews etc.) and 70g of raisins. Pour the mixture in to lined baking tin and bake in a Gas Mark 4 oven for around 40-45 minutes until cooked and springy to the touch. 
To make the buttercream icing with an electric mixer beat 70g of butter until pale and soft, add 140g of sifted icing sugar and combine with a few tablespoons of milk (or water). Beat on a high speed until well combined and soft. Spread this onto the top the cooled cake and make ridges using a pallet knife, sprinkle on some chopped pistachio nuts.
Slice into squares and serve with tea or coffee
This cake also tastes amazing the next day when the flavours have settled and intensified. 
😋
Enjoy!
Q x
P.S - I had such issues with this post! The lighting was awful when I wanted to take pictures because winter. I wrote the draft when we had no electricity/gas (renovation struggles) and when I was trying to post it the internet wasn't working. My cousin's baby was also over at our house so it was a bit chaotic and to top it of, I really wan't feeling well! However I preserved because I really wanted to get it up before the 1st. So to anyone still reading.. Happy Near Year! I hope it is everything you wish it to be x 

Chocolate Orange Cream Cake

It was November--the month of crimson sunsets, parting birds, deep, sad hymns of the sea, passionate wind-songs in the pines. Anne roamed through the pineland alleys in the park and, as she said, let that great sweeping wind blow the fogs out of her soul ― L. M. Montgomery

I remember borrowing Anne of Green Gables from my high school library many years ago and devouring it over the course of a few evenings. As for this particular line from the book, I came across it again recently and I love it - it captures the essence of one my favourites times of year perfectly. And now December is upon us and we must bid it adieu, its been a blast.
Almost literally considering bonfire night, we had a spectacular firework display and all the sparklers and chocolate you could wish for. Although it was a bit of a jam-packed evening as I took my sisters to a book signing earlier on, it was to meet Ransom Riggs,  author of the Miss Peregrines books - we got signed copies of his latest instalment in the series, A Map of Days.
November, or Rabi ul-Awal which is the Islamic month based on the lunar calendar brought with it Eid Milad un Nabi a beautiful festival of celebration and light. Every celebration calls for cake, so I made this one flavoured with chocolate and orange. 
Tangy citrus and rich, dark chocolate is a true and tested flavour combo that works really well. Just try a Terry's Chocolate Orange if you need convincing.. speaking of, I visited Goddard House last summer, the former estate of the Terry's family, it has beautiful gardens, some interesting (vintage chocolate related) displays and you can see the old factory across the river. 

Now back to this amazing cake, it features a moist rich sponge with flecks of orange flavour and a double cream citrus topping, with more chocolate and orange of course! The other great thing about this cake is that it is so easy to make - an all in one method, you add all your ingredients to a bowl, mix, into the oven and voila. I guarantee you that this will be your go-to chocolate cake recipe from here on out, it's that easy and delicious.

So to make this Chocolate Orange Cream Cake, you need the following ingredients:
Cocoa Powder
Caster sugar
Margarine/butter
Eggs
Self-raising flour
Baking powder
Milk
Begin by adding 50g of good quality sifted cocoa powder into a bowl and stir in enough boiling water until a forms a thick chocolate paste.
To your mixing bowl add in the remaining ingredients - 100g butter/margarine, 275g caster sugar, 3 large eggs, 175g self raising flour, 1 rounded teaspoon baking powder and 50ml of milk.
Finally add in the chocolate mixture and beat until well incorporated and you have a thick, smooth batter.
Stir in the grated zest of one orange. You can add a dash of orange juice or orange essence if you want to enhance the flavour.
Spoon the mixture into a lined loaf tin (or two sandwich tins) and bake in a preheated Gas Mark 4 oven for around 30 minutes or until  well risen and springy to the touch.
To make the cream topping, whip up some double cream along with icing sugar (add a tablespoon at a time until it reaches the desired sweetness), grate in some orange zest.
Once the cake has completely cooled, spoon on the orange cream - I went with a more rustic effect but you can pipe it if you wish. Also if you opted to make the cake in circular tins, sandwich the layers with orange cream and decorate the top as mentioned above. 
An easy and delicious recipe for a chocolate cake which can easily be modified to create other flavours e.g. chocolate and hazelnut or raspberry and chocolate.
😋
Enjoy!
Q x

Red Velvet Cupcakes with Butter Cream Cheese Frosting ♥

Without fail every time I have checked my Instagram feed this past month I've seen at least one red velvet recipe and so I felt inspired to venture into red velvet territory. Now I'm not one to go into uncharted waters unprepared so I did a bit of research, turns out that traditionally the red colour of the cake was due the reaction between acidic vinegar and buttermilk which reveals the anthocyanin in cocoa, nowadays we also add in red dye to enhance the colour (and ensure red velvet remains the international Valentines day dessert, obviously). 
I imagine the Queen of Hearts loves a red velvet cake or two, must be tiring work screaming 'off with their heads' multiple times a day. That's one of the reasons why I want to throw an Alice in Wonderland themed tea party, just so I can feature my red velvet cupcakes on a little stand centre stage, dress up in an eccentric costume, put up elaborate decorations and consume tea party food to my hearts content. That or a 1930s themed party (the good bits, notwithstanding the Great Depressions); art deco decor similar to the salons of the Waldorf Astoria, glamorous dresses and lots of red velvet, only apt considering the Astoria made this cake iconic. 
Now I'm not much of a party planner or thrower but what I do know is that this cake needs to made in abundance and shared and loved. 
These cupcakes are wonderfully soft, moist and flavourful with just a hint of cocoa. 
As for the frosting, most people go for a full-on cream cheese extravaganza but I personally don't like the taste of that so instead I made a buttercream frosting with a touch of cream cheese. I've also upped my piping game, check out those roses! they are nowhere near perfect but still look very pretty, especially with the white contrasting against the red cake and the subtle gold glitter. With the tiniest bit of effort and skill you can create a delicious cupcake, the type you would purchase at a fancy bakery in a hipster neighbourhood for an extortionate price and eat with a fork because etiquette.

So to make these Red Velvet Cupcakes you will need the following ingredients:
- Plain flour
- Caster sugar
- Baking powder
- Bicarbonate of soda
- Cocoa
- Salt
-Buttermilk
- Vegetable oil
- Egg
- Apple cider vinegar
- Red food dye
- Hot water
Begin by combing the liquid ingredients together in the bowl of your stand mixer - 2 fl oz of vegetable oil (or other flavourless oil), 1 egg, 1 tsp apple cider vinegar (or white vinegar), 2 1/2 tsp red food colouring (I used a powder but if using gel dye amend amount as you see fit) and finally 4 fl oz buttermilk (can be purchased or alternatively mix together 4fl oz milk and 1 tblsp of lemon juice and let stand for 5 mins). 
Next add in your dry ingredients - 163g plain flour, 207g caster sugar, 1 and 1/8 tsp bicarbonate of soda, 1/4 tsp baking powder, 1/2 tsp salt and 2 heaped tsp of cocoa. 
Stir mixture on low speed and pour in 3 fl oz of hot water, less may be required so just keep an eye on the consistency of the mixture.
Pour the mixture into a tin lined twelve lined cupcake cases and bake in a preheated Gas Mark 4 oven for 15-17 minutes or until cooked and springy to the touch. I prefer to use muffin tins as it offers better support.
In the meantime to make the butter cream cheese frosting, beat 110g of butter until pale then add in 250g of icing sugar and beat until well combined. Pour in 2 1/2 tsp of milk and 15g of soft cream cheese and mix to incorporate. To make the frosting more cream cheese based, alter the amounts e.g. 90g of butter and 35g of cream cheese but ensure that it is always double the amount of fat to sugar.
Once the cakes are out of the oven leave to cool of a baking rack to ensure that air gets underneath the cakes.
Fit a piping bag with a 1M tip, fill with the frosting and pipe on rosettes - starting from the centre and swirling outwards. Sprinkle with edible gold glitter if desired.
These cupcakes can be eaten immediately (most likely) or stored in an airtight container for up to two days. 
😋
Enjoy!
 Q x 

Chocolate Chip & Orange Cake

I have officially succumbed to my winter state (even though its still autumn) as we saw the first frost this morning and I also feel perpetually cold and so we bid adieu to all things summery and welcome in the knitwear and cosy baking season. I will say however I think its a little early to be putting up the fairy lights and Christmas tree, no joke but I know of more than a handful of people who have done so and that's not including the high-street shops, but I guess I excuse the rampant consumerism and excessive commercialisation of festivals because its adds to the fun.
Speaking of celebrations, remember remember the 5th of November, one of my favourite nights of the year. We had a big firework display in the garden and lots of people came round, there was a mini bonfire and popcorn, chips and pakoras oh and sparklers and cold noses and hot chocolate. The firework 'competition' with the neighbours and the noisy night and smog filled morning that follows - the usual traditions.
Unfortunately I didn't get round to baking anything, but if I had it would have been this chocolate and orange cake because what goes better with hot chocolate than a slab of warm, chocolaty, citrusy cake. This cake recipe is actually a spin of my usual lemon drizzle loaf which means its super fluffy and light but this time its loaded with chocolate chips and a subtle orange flavour. 

So to make this Chocolate Chip & Orange Cake you'll need the following ingredients:
- Butter or margarine
- Caster sugar
- Self raising flour
- Eggs
- Baking powder
- Milk
- Oranges
- Chocolate
Begin by creaming together 113g of butter/margarine and 113g of caster sugar until light and fluffy. Note that these amounts are suitable for a loaf cake, double up the recipe for a larger cake. 
Add in 2 eggs beating well after each addition, then grate the zest of one large orange and add this to the mixture.
Juice the same orange and stir this into the batter, in a pinch this can be substituted for pre-bought pure orange juice. 
Next sift in 138g of self raising flour and 1 tsp of baking powder along with 1 and 1/2 tblsp of milk. If wishing to omit the milk then just substitute for additional orange juice. 
Chop up a generous amount of chocolate (about 60g), if wanting more even sized chunks then opt for chocolate chips. Stir this into the cake batter but set some aside.
Spoon the batter into a lined loaf tin and top with the remaining chocolate chunks.
Place this into an oven preheated to Gas Mark 4 and bake for until golden brown and springy to the touch.
Once it comes out of the oven drizzle the top with some freshly squeezed orange juice and allow this to soak into the cake. 
 Serve with hot chocolate, orange slices and a good TV show (by the way, was anyone else disappointed with the GB Bake Off finale? I found it incredibly boring and that's not because I already knew who the winner was - thanks Prue!)
😋
Enjoy!
 Q x  

Vanilla Cake with Nutella Frosting

Happy Thursday folks! I've had a pretty relaxing day off which has consisted of nothing the least bit productive and I mostly blame that on the social media wormhole. 
I ended up watching one too many cake decorating videos on Instagram as well and let me tell you, some people are ridiculously talented and elevate icing to an art form. 
It may have given me some much needed motivation to try and learn some new skills but we shall see how that goes. I suppose I would describe my decorating skills as rustic, in other words, I'm not one for fancy decorating and that is perfectly reflected in the cake that I made for my sister last week. The whipped cream frosting and fresh flowers made it look effortlessly pretty with minimal effort and it gets extra points for being so delicious. 

I remember as a child, birthday cakes were all about insane amounts of fondant icing (with a cartoon character or two), crazy food colouring and lots of sugar. The alternative in our house was the chocolate gateaux that you would have to defrost for a couple of hours, now I'll admit that I still think that it tastes great but rather than making a trip to Iceland (the shop not the country, for those who are confused) homemade birthday cakes are just a little more special. 
For this one I decided to try a Nutella frosting as an ode to the chocolate gateaux cream and the flowers were actually an unplanned addition, as lots of people came over and with time constraints I went with a more simple decoration. But all's well that ends well!
This light vanilla sponge is also the perfect recipe to have in your baking repertoire because it is easily adaptable, seeing as it uses the 1:1 method i.e. equal quantities of most ingredients so it can upscaled for larger cakes. 

So to make the vanilla cake you will need the following ingredients:
- Margarine
- Caster sugar
- Self raising flour
- Baking powder
- Vanilla essence
- Eggs
- Milk
To begin with measure out 225g of soft margarine and 225g of caster sugar and cream until pale and fluffy.
Then add 4 eggs, one at a time, beating well after each addition. If the mixture curdles at this stage, don't worry because it will be rectified later on.
Next sift in 225g of self raising flour and 2 tsp of baking powder and mix until well combined.
Add in 2 tsp of milk and 2 tsp of vanilla, give the batter a quick mix.
Divide the mixture evenly between two round tins lined with baking paper, alternatively use a large rectangle tin. Bake in a Gas Mark 4 oven for 30 minutes or until golden brown and an inserted skewer comes out clean. Leave to cool.

To make the Nutella frosting you will need the following ingredients:
- Nutella (or other hazelnut spread)
- Double cream
- Icing sugar
- Butter
- Vanilla extract 
Begin by beating together around 3 tablespoons of butter and 3 tablespoons of Nutella together in a stand mixer fitted with the whisk attachment.
Then add in 1 1/4 cup of icing sugar, 4 tblsp of double cream and 1 tsp vanilla, whip until the desired consistency is reached. Add more sugar or cream as you see fit.
Once the cakes are completely cool begin to assemble; sandwich the frosting between the layers and over the top and sides of the cake using a palette knife. Transfer the cake to fridge to allow the frosting to set.
 The cake can be decorated as desired,  I opted for some fresh flowers and a few berries. All decorating supplies gathered from the garden!
You could also add some Ferrero Rocher, a ganache drip or using a piping bag fitted with a star tip pipe on some rosettes.
😋
Enjoy!
 Q x